Tuesday, April 13, 2010

Two recent cards..

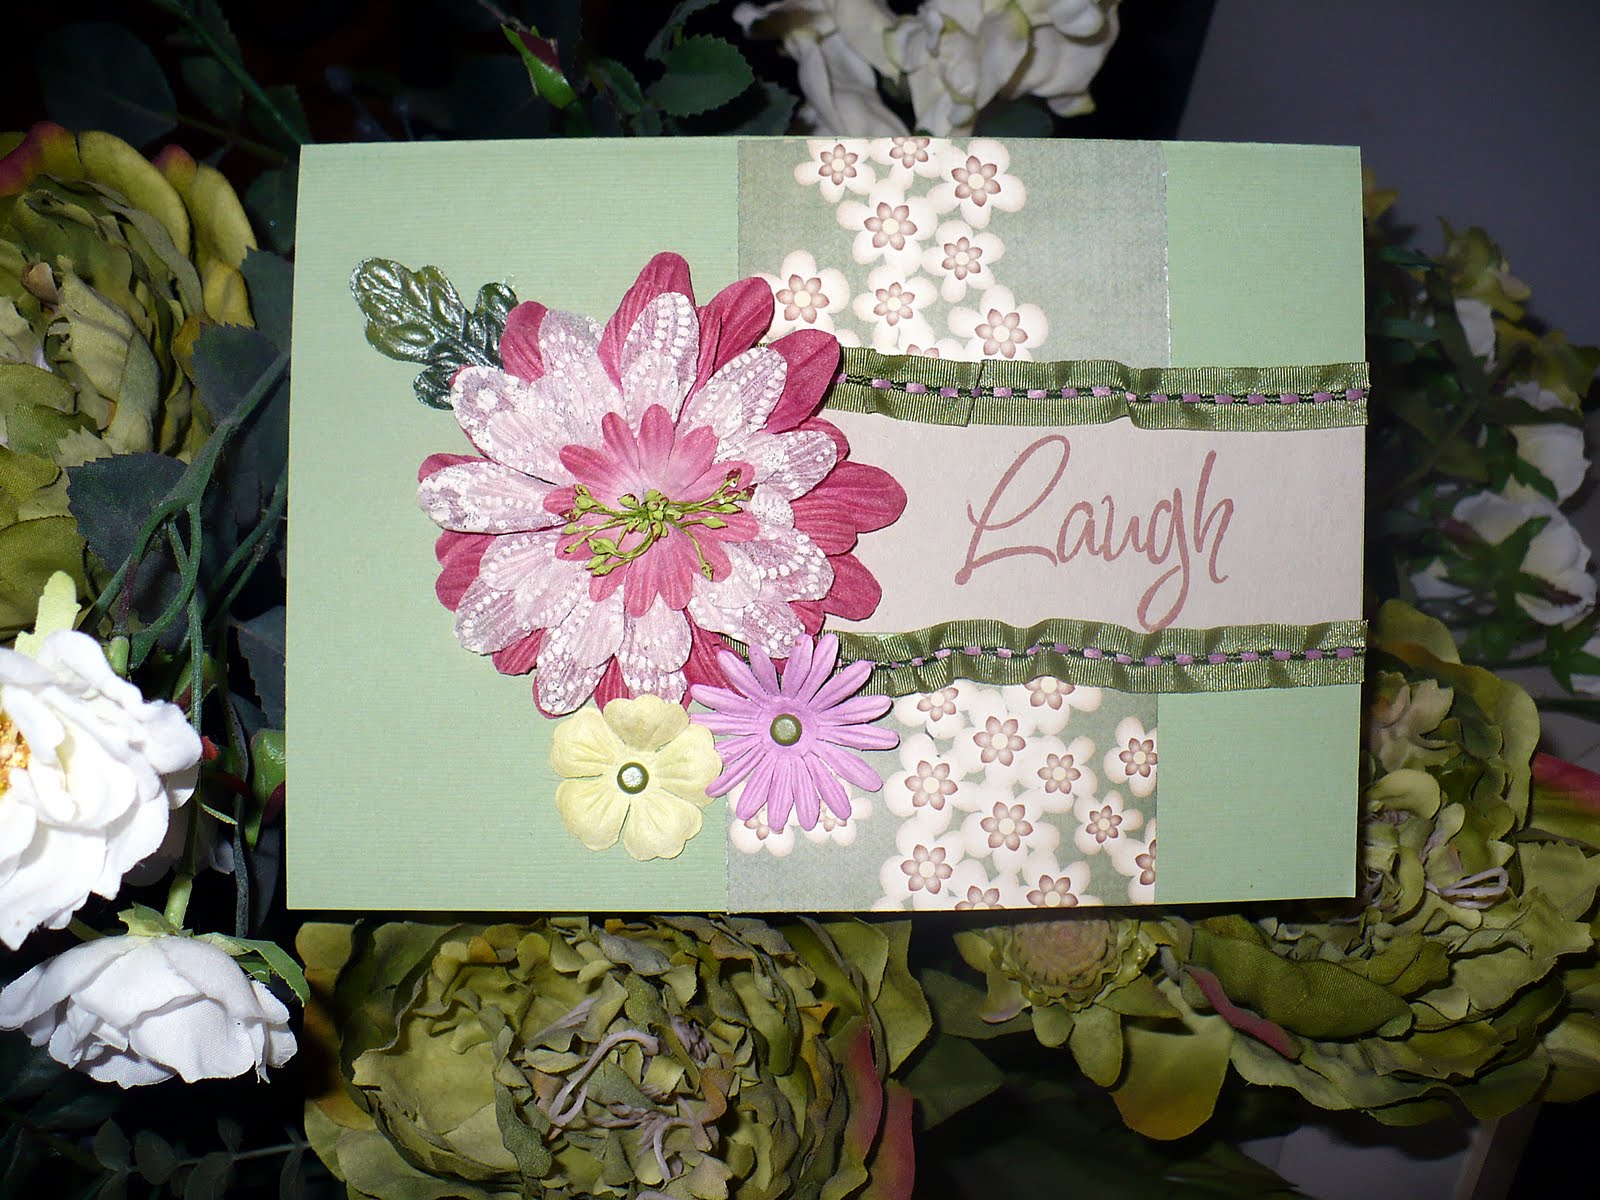
I thought that I would share a couple of cards that I recently made. These are the kind of cards that I enjoy putting together with little or no effort..the kind that just make themselves.

This first card was created as part of my DT work for Posh Designs Scrapbook Store. Every other week there is a card challenge based upon a sketch. The prizes for the Challenge Winner are FABULOUS!! Just an FYI there...

Anyway, this is what I created for Challenge #12..

The next card was made out of a page kit that I was given from Little Yellow Bicycle at a Fiskateers crop I recently attended. I wanted to thank LYB for the goodies and this is what I sent them.
All in all I am pleased with these cards. Simply stated and vibrant!

Have a wonderful day!
~A

Friday, April 9, 2010

Glimmer Mist Blossoms for Posh Designs..

This was my "Alter It Monday" project for Posh Designs Scrapbook Store in Montreal. I LOVE creating these flowers!! I had to share them with you all.

Here is a really pretty and different way to create some blossoms for your altered art projects.

You will need some rose petals in a white or light color. I used some from the wedding/bridal section of a craft store. You can also take apart an existing flower or cut your own out of fabric.


I used 5 solid white petals for the flower itself and 2 sheer petals for the leaves.

I started off by taking my Glimmer Mist and spraying the flower petals with two different colors from the same color family.

After that, I misted with another color, Marshmallow, to add some depth and extra sparkle.

The leaves were misted with Glimmer Mist as well. I used a light green and a dark green.

Once the petals dried, they looked like this.

Now it is time for assembly!

Using some quick dry fabric glue, like Fabritac, I laid down a glue line like this on each flower petal. Letting the glue set for a moment and get super sticky is a great thing to do.
I folded each side in on itself like this to create dimension in the petals.


The leaves were glued and folded in similar way, but I only folded one side in.

Once the glue has set, this is what has been created.
I then gathered up the petals one by one in my fingers to create the flower. I overlapped them on one side and continued around in a circular fashion.

Once the petals were all gathered, I simply stapled them together in the center to hold them in place.


The leaves were glued in place on the back side using the Fabritac glue.
Now you have a flower!

But wait, let's take it one step further and add a cool vintage button to the center to really finish it off and to cover up that staple.

There you have it! A Glimmer Mist Blossom!

Take care,
~A
Sunday, April 4, 2010

A Tutorial for Rolled Paper Roses

I was playing around with some of my scraps from the April kit from Scraptacular this weekend and created this tutorial for you on how to create Rolled Paper Roses with Glimmer Mist!

You will need just a few things.. A length of paper (mine was 1 1/2" x 12"), a small square or circle of paper, some quick dry liquid adhesive like Zip Dry, and of course the Glimmer Mist.
To start, mist your length of paper liberally with the Glimmer Mist. The paper will curl once it is wet. That's OK!

Fold the wet paper in half lengthwise. Sure, it is a little messy on the fingers, but you are washable! :)

Add a generous dollop of adhesive to the square or circle paper.

Twist one end of the long damp strip and smoosh it in the glue.

Twirl and twist the paper around and around and spiral it about while gluing it in that adhesive.


Add adhesive as need be to hold the flower together. Remember, a little goes a long way!

Once the strip has been completed, trim away the excess of the mounting paper if need be. I had to trim away the green corners seen below.

I decided that I wanted some leaves on my Rose so I freehand cut a couple from another scrap.

Glue your leaves in place as desired and there you have a Rose!

I decided to embellish my Rose with a few vintage pearls.

Now what to do with the Rose....

Create a card!
Hope that you enjoyed this! Have a great day!
~A

Thursday, April 1, 2010

April on Scraptacular

It's here!! This kit has had to be one of my favorites!! The colors are FABULOUS! The prints are amazing! Oh! Paper Love!!

The APRIL 2010 Scraptacular Kit!!!
-(1) sheet My Minds Eye Beautiful Blooms -(1) sheet My Minds Eye Berries -(1) sheet My Minds Eye Colorful Umbrellas -(1) sheet My Minds Eye Blissful -(1) sheet My Minds Eye Engaging Gingham -(1) sheet My Minds Eye Serene Spots -(1) sheet My Minds Eye Lounging Around -(1) sheet My Minds Eye Strawberry -(1) sheet My Minds Eye Yummy Stripe -(1) sheet My Minds Eye Gleeful -(1) sheet 3 Bugs Bed of Roses -(1) sheet 3 Bugs Spread Your Wings Stripe -(1) sheet 3 Bugs Poppies -(4) Crocheted Flowers -Salutations Thickers -(1) half sheet Umbrella Cricket Thickers -(6) My Minds Eye Die-Cuts -(1)ft coordinating ribbon -(2)ft coordinating ribbon -(6) Bling rhinestones -(3) colored paper clip

A few Layouts I created with my Design Team kit:


An of course.. an Altered Art piece!

Thanks so much for looking! I hope you all enjoy this kit as much as I have!
~A

Tuesday, March 30, 2010

Vintage Inspired..

I've been collecting vintage treasures for a while now. I think that this love and collecting has come from the Summers I have spent at my Nan and Nanna's. Nan and Nanna had such gorgeous things to look at and to explore!

I created this wall hanging in honor of them.

They loved Wedgewood Blue and Dusty Rose as well as all sorts of pretty things. I blended the two colors into this Smokey Soft Violet flower I made. It was created using four shades of Glimmer Mist. The cut crystal center of the flower is really a beautiful button I found in Nanna's sewing cabinet that I was bequeathed. The heirloom satin ribbon has been left with all the creases that it was stored with. I thought that it added texture and drama.

My butterfly wall hanging sparkles and shines to remind me of the treasured memories that we share. I miss my Nan and Nanna and know just how much they loved me.

~A

Sunday, March 28, 2010

A few Gavin Layouts

It amazes me how my boy grows! Here are a few Layouts I did of him!
Thanks for looking!!
~A

Sunday, March 21, 2010

April Peeks for Scraptacular!

Here are two sneak peeks at the oh so pretty April kit from Scraptacular! The colors are absolutely gorgeous!! I'm in LOVE!
This kit hits the store for April! That's just around the corner!! I can not believe it! Where has time gone??

~A

Monday, March 15, 2010

Alter It Monday at Posh Designs Scrapbook Store! Let's make Paper Roses!!!

It's Monday again! Do you know what that means? That's right!

It's Alter It Monday time at Posh Designs Scrapbook Store!


This week I have a great tutorial for this Paper Rose to share!
Stop on over that the PDSS Blog to check it out!

Happy Blooming!
~A

Sunday, March 14, 2010

This past week's Alter It at Posh Designs..

This is my Alter It Monday project for this past week at the Posh Designs Scrapbook Store blog. You can find my tutorial right here!

This was so much fun to create! Thanks for looking!

~A

Friday, March 5, 2010

Lily Bee Layouts

So I decided to throw my hat in the Lily Bee ring for their Design Team call. Why not, right? You can't win if you don't try...

Here is what I sent in!

A card..

And two Layouts..
On Monday they are making their calls to all who they are accepting to their new Design Team! How exciting and nerve-wracking all in one!!! Eeep!

~A

Thursday, March 4, 2010

Some Layouts to Share..

Thought that it was time to share some Layouts that I have created...

Enjoy!


Thanks for looking!

~A

Wednesday, March 3, 2010

An Altered Trinket Box Tutorial for Posh Designs!

Hello Everyone!!!

Would you like to know how to turn this plain wooden trinket box...

Into something like this???You would???

GREAT!!!
Come on over the the tutorial I did on the Posh Designs Scrapbook Store Blog!
I'm showing everyone how to make your own Trinket Box this week and guess what?? Each Monday I am having an Alter It tutorial of some sort there! Yay!!!

Thanks for checking it out!

Have a great day!
~A