This September I am the Guest Design Team Member at SWEET PEACH CROP SHOP!!!
I have had such a FUN time creating with this kit.
Love it all!
Will be back later on to show you what I've created! 7 LOs and an altered item so far! Wheeeeeeeee!
~A
Thursday, August 26, 2010
Saturday, August 21, 2010
An A-mAZE-ing Book!
I was inspired yesterday to create a Maze Book for the first time in forever. Maze books are created from one sheet of paper that is cut and folded down to a smaller size. I used a 12x24 inch sheet of K&co Handmade paper.
Here's what I created!
There are fifteen pockets and coordinating tags inside.
~A
Here's what I created!
There are fifteen pockets and coordinating tags inside.
~A
Thursday, August 19, 2010
More Sweet Peach!
Here's one more from that fantabulous Sweet Peach Crop Shop August kit!
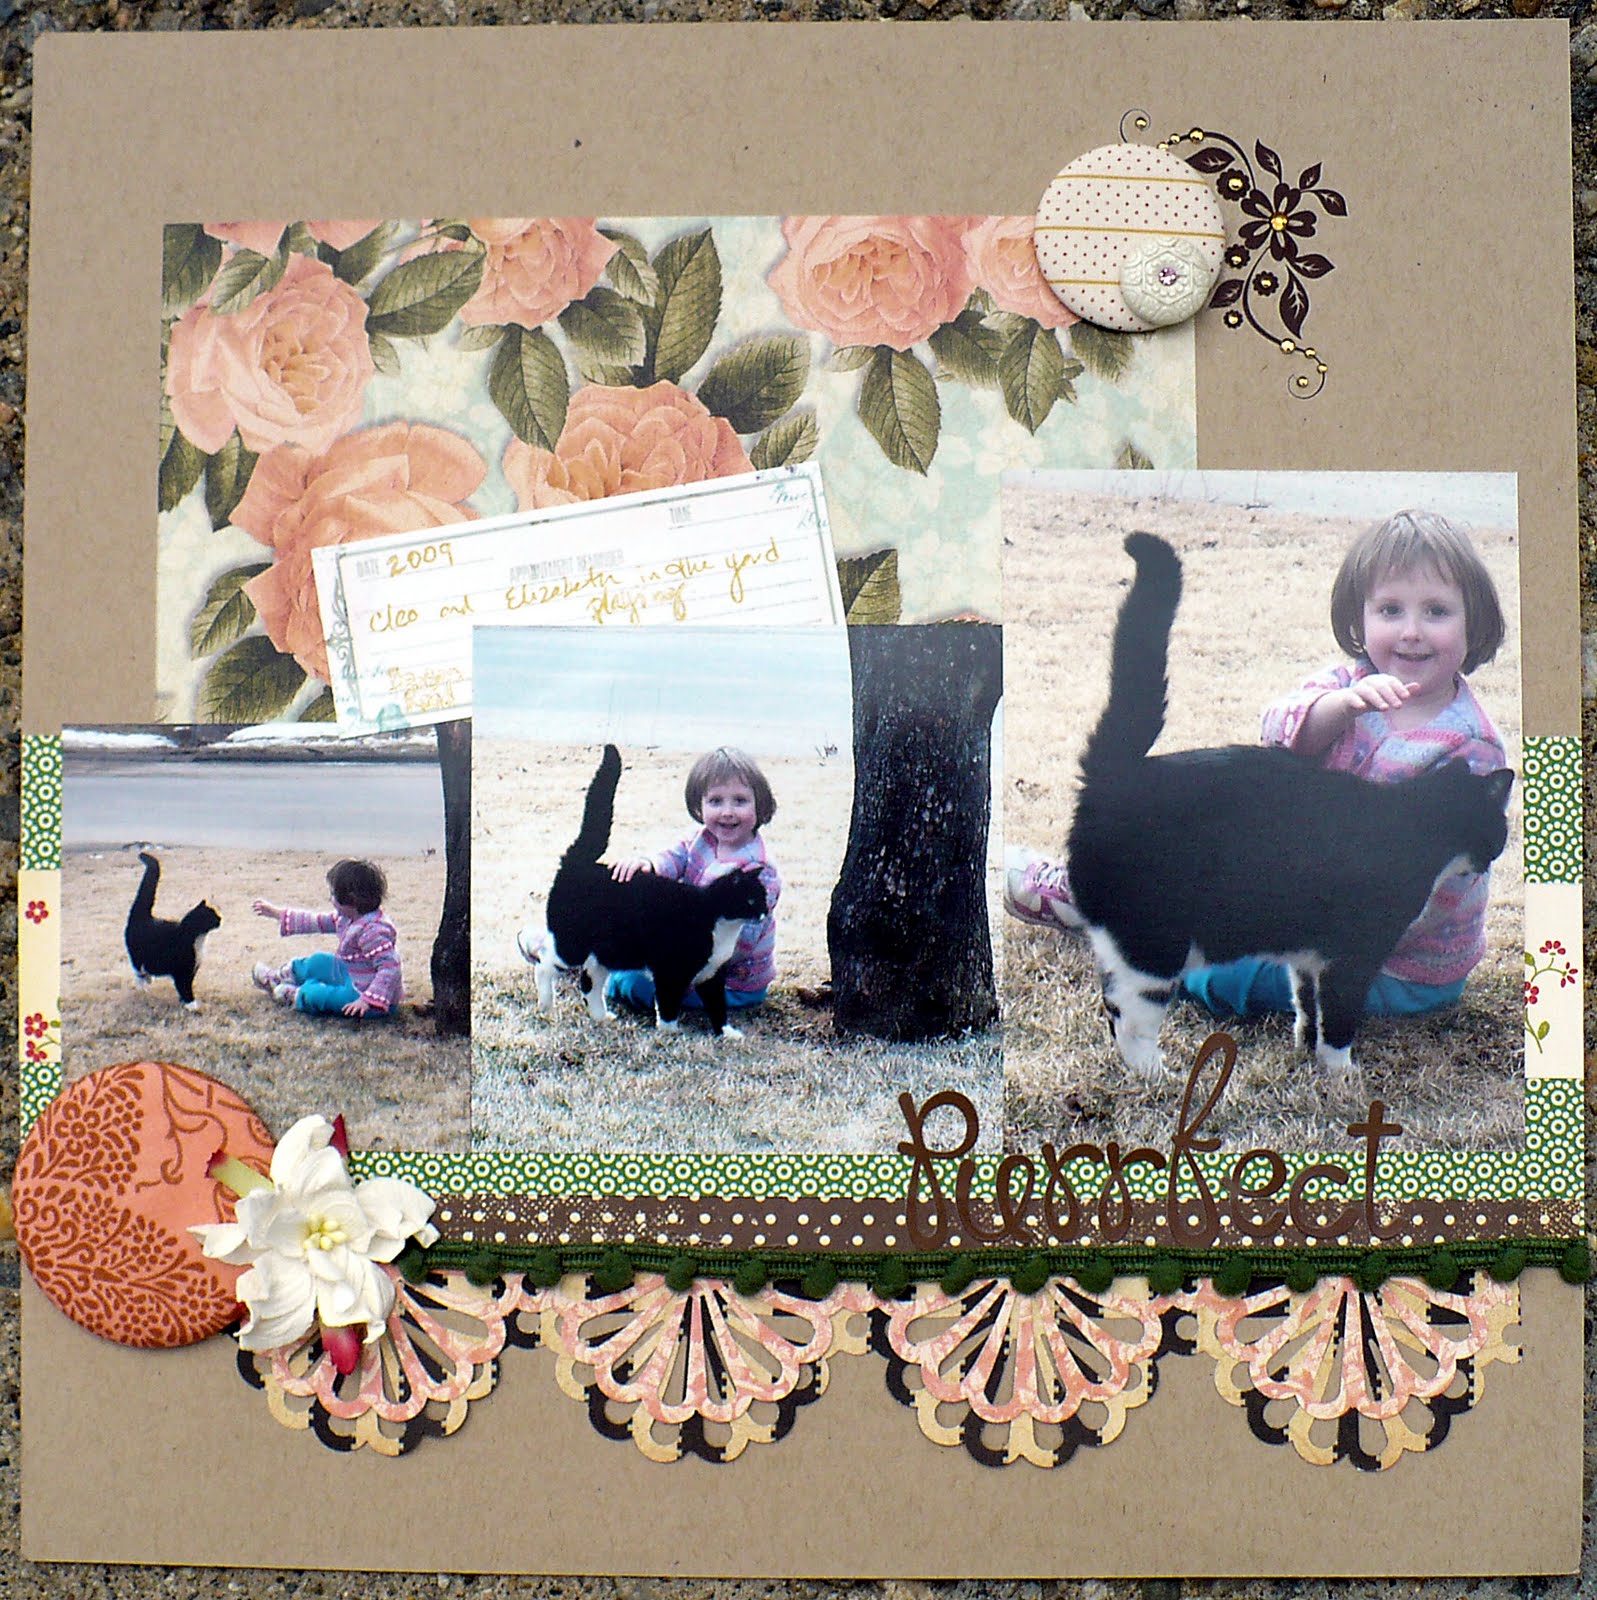
That's Elizabeth and Cleo outside the house one fine and Purrfect day! I used the August sketch from Sweet Peach Crop Shop as my inspiration. Love it!
Take care,
~A
That's Elizabeth and Cleo outside the house one fine and Purrfect day! I used the August sketch from Sweet Peach Crop Shop as my inspiration. Love it!
Take care,
~A
Tuesday, August 17, 2010
New LO with Sweet Peach!
Here's one of my newest LO's using the Scribble Scrabble pattern papers from the Sweet Peach Crop Shop August "Sweet" kit! I LOVE the colors of this kit so, so much! They make me giddy!
Off to go and create some more!
Have a wonderful day!
~A
Off to go and create some more!
Have a wonderful day!
~A
Sunday, August 15, 2010
Thursday, August 12, 2010
Wednesday, August 11, 2010
Bowlin Blooms for Scraptacular!
Hi there,
I created this "Bowlin Bloom" with some scraps from the Boardwalk kit that Beth coordinated for August at Scraptacular.
I call it a Bowlin Bloom as Jenni Bowlin herself showed me how to create the basics of these blooms a few years ago at a tradeshow. Talk about awe inspiring! Jenni is so sweet!
To create the base flower you need:
~ Three circles of paper. Can be whatever you desire, hand cut or punched, etc. About the same size would be great too!
~ Coordinating chalk ink(s)
~ A good strong quick drying liquid adhesive.
~ Stickles
~ Fibers of some fashion for the stamens. I used hemp.
~ Scissors
~ Edge Distress Tool
1- Distress the edges of the circles with Edge Distress Tool. Rough it up!
2- Snip circles on their radius. This would be from edge to center point. Think of a "Pac-Man" with his mouth closed! :)
3- Take each circle and pleat it along the center point. This will create a ruffled up jumble and sort of look like a fan. That's OK!
4- Pick out two and overlap cut ends to create a larger full circle. Glue in place and smoosh slightly.Chalk edges.
5- Using the third circle, over lap it's ends and adhere in place. Smoosh as necessary. Smooshing is fun! Chalk edges here too.
6- Glue smaller circle on the center of the larger circle.
7- Adhere desired fibers to the center flower with adhesive.
8- Cover adhesive in center of flower with Stickles.
9- Let dry and then enjoy!
10- :)
Hope that you have fun creating "Bowlin Blooms!"
~A
I created this "Bowlin Bloom" with some scraps from the Boardwalk kit that Beth coordinated for August at Scraptacular.
I call it a Bowlin Bloom as Jenni Bowlin herself showed me how to create the basics of these blooms a few years ago at a tradeshow. Talk about awe inspiring! Jenni is so sweet!
To create the base flower you need:
~ Three circles of paper. Can be whatever you desire, hand cut or punched, etc. About the same size would be great too!
~ Coordinating chalk ink(s)
~ A good strong quick drying liquid adhesive.
~ Stickles
~ Fibers of some fashion for the stamens. I used hemp.
~ Scissors
~ Edge Distress Tool
1- Distress the edges of the circles with Edge Distress Tool. Rough it up!
2- Snip circles on their radius. This would be from edge to center point. Think of a "Pac-Man" with his mouth closed! :)
3- Take each circle and pleat it along the center point. This will create a ruffled up jumble and sort of look like a fan. That's OK!
4- Pick out two and overlap cut ends to create a larger full circle. Glue in place and smoosh slightly.Chalk edges.
5- Using the third circle, over lap it's ends and adhere in place. Smoosh as necessary. Smooshing is fun! Chalk edges here too.
6- Glue smaller circle on the center of the larger circle.
7- Adhere desired fibers to the center flower with adhesive.
8- Cover adhesive in center of flower with Stickles.
9- Let dry and then enjoy!
10- :)
Hope that you have fun creating "Bowlin Blooms!"
~A
Sunday, August 8, 2010
New Layouts!
Thought I would share a few of my new LOs from the past couple days. I used the August Kit from Simply Obsessed. Love the Pink Paislee!
Thanks for stopping by! Have a Splendifferous Day!!
~A
Thanks for stopping by! Have a Splendifferous Day!!
~A
Friday, August 6, 2010
A gift of flowers..
My friend, Beth, had a birthday this past month. She's an avid card maker, scrapbooker, crafty sort of woman and is a blast to hang out with. I wanted to give her something to commemorate her "monumental" birthday. I thought long and hard while wracking my brain as to what to make her.
I ended up creating this grapevine and flower wreath for her.
~A
Thursday, August 5, 2010
Cards, cards, and more cards!
Been playing "catch-up" on cards lately and thought that I would share some of my most recent creations.
Here they are!
Have a wonderful day!
~A
Here they are!
Have a wonderful day!
~A
Tuesday, August 3, 2010
More August DT work for Scraptacular!
This month I had the pleasure to work with the "Boardwalk" kit from Scraptacular. It has been amazing!! I LOVE the color combonations! I'll be honest...I originally didn't! Eeek! Turns out that they were perfect for what I wanted to do.
Here's the kit....
This great kit includes....
-(1) sheet Little Yellow Bicycle US Map
-(1) sheet Little Yellow Bicycle South Beach
-(1) sheet Little Yellow Bicycle Fun in the Sun
-(1) sheet Little Yellow Bicycle Sand Dollars
-(1) sheet Little Yellow Bicycle Vacancy
-(1) sheet Little Yellow Bicycle Orange Hexagon
-(1) sheet Little Yellow Bicycle Pool Side
-(1) sheet Little Yellow Bicycle Twister
-(1) sheet Little Yellow Bicycle Flip Flops
-(1) sheet Little Yellow Bicycle Sun Decorative Edge
-(2) sheets coordinating Bazzill cardstock
-(6) LYB sheer glitter cuts
-(3) LYB Canvas Borders
-(2) LYB Large Tickets
-partial pack LYB 3-D Stickers
-LYB 10 Things Pocket
-(1) sheet LYB 6x6 decorative cardstock
-Thickers Nikki Rikki Glitter Letters..............a new Favorite of Mine!!
So, would you like to see what I created??
Would you???
Thanks so much for looking! Go check out the kit and also.......the OTHER AUGUST KIT that Beth has to offer this month! Echo Park anyone???
All my best,
~A
Here's the kit....
This great kit includes....
-(1) sheet Little Yellow Bicycle US Map
-(1) sheet Little Yellow Bicycle South Beach
-(1) sheet Little Yellow Bicycle Fun in the Sun
-(1) sheet Little Yellow Bicycle Sand Dollars
-(1) sheet Little Yellow Bicycle Vacancy
-(1) sheet Little Yellow Bicycle Orange Hexagon
-(1) sheet Little Yellow Bicycle Pool Side
-(1) sheet Little Yellow Bicycle Twister
-(1) sheet Little Yellow Bicycle Flip Flops
-(1) sheet Little Yellow Bicycle Sun Decorative Edge
-(2) sheets coordinating Bazzill cardstock
-(6) LYB sheer glitter cuts
-(3) LYB Canvas Borders
-(2) LYB Large Tickets
-partial pack LYB 3-D Stickers
-LYB 10 Things Pocket
-(1) sheet LYB 6x6 decorative cardstock
-Thickers Nikki Rikki Glitter Letters..............a new Favorite of Mine!!
So, would you like to see what I created??
Would you???
Thanks so much for looking! Go check out the kit and also.......the OTHER AUGUST KIT that Beth has to offer this month! Echo Park anyone???
All my best,
~A
Monday, August 2, 2010
Alter It Monday at Posh Designs Scrapbook Store! Let's Create COSMOS!!!
Happy Monday!!
Have you ever wanted to create a Cosmos flower? I have! I love this summertime flower as it reminds me of my mother and growing them outside my childhood home in Vermont.
I created this tutorial at Posh Designs Scrapbook Store in honor of the flower and my Mom!

Have a wonderful day!
~Amy
Subscribe to:
Posts (Atom)